Quick Answer
You need a Phillips #0 screwdriver, a plastic spudger or opening tool, and tweezers. Power off completely, unplug the charger, remove all visible screws (check under rubber feet), and pry the case open gradually along the seam with a plastic tool rather than metal, which can scratch or crack the plastic clips.

Causes
You’d typically open a Chromebook for one of these reasons: replacing a battery, screen, keyboard, or trackpad; cleaning dust from the fan and heatsink; or diagnosing a hardware issue that software troubleshooting couldn’t resolve.
Fix Steps
Step 1: Gather the right tools
You’ll need: a Phillips #0 (and sometimes #00) precision screwdriver, a plastic spudger or guitar-pick-style opening tool, tweezers for small screws and cables, a small container or magnetic mat to keep screws organized, and a can of compressed air for cleaning as you go.
Step 2: Power down and discharge static
Shut down completely — not sleep — and unplug the charger. Touch a grounded metal object before starting to discharge static electricity, which can damage internal components.
Step 3: Find and remove all screws
Check the entire bottom panel, including under the rubber feet, which often hide additional screws. Keep track of screw positions since some Chromebooks use different lengths in different spots — a labeled tray or a phone photo of the layout helps.
Step 4: Pry the case open along the seam
Starting at a corner near where you removed screws, insert the plastic spudger into the seam and gently twist to release the first clip. Work your way around the perimeter slowly — clips are usually spaced every 1–2 inches. Forcing one area too hard before nearby clips are released is the most common cause of cracked plastic.
Step 5: Handle internal cables carefully
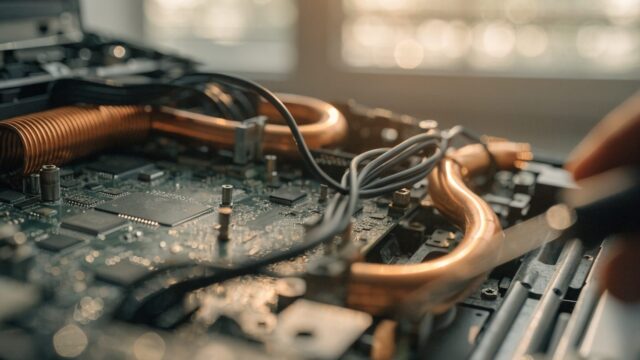
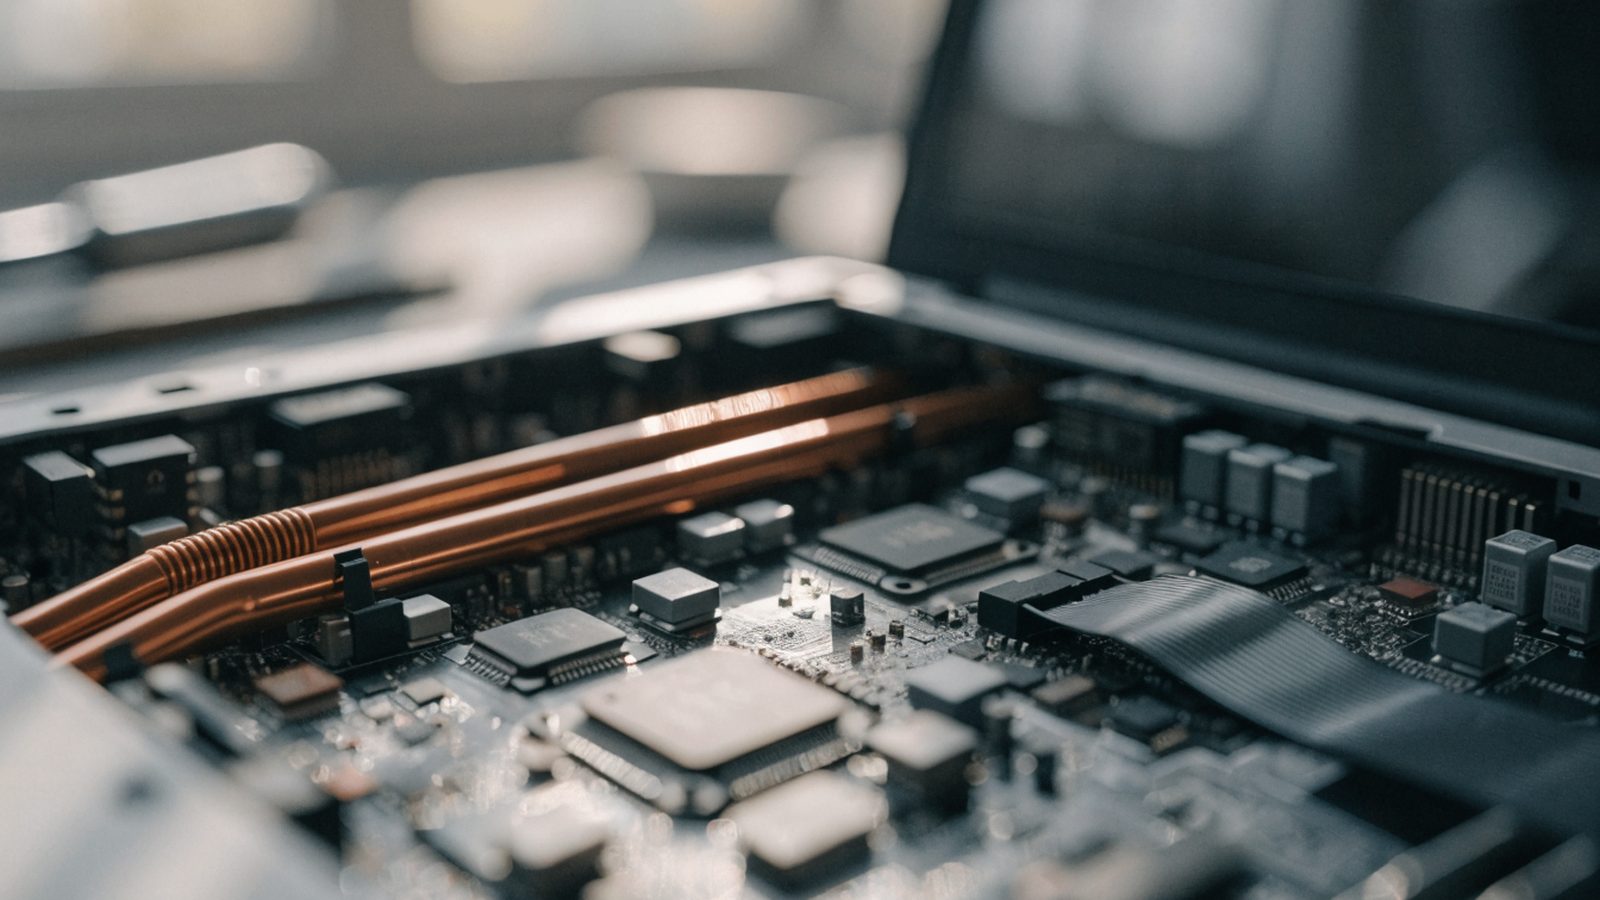
Once inside, note that battery, keyboard, trackpad, and speaker cables all connect via small ribbon or wire connectors. Most ribbon connectors use a small flip-lock: lift the black or brown flap gently before sliding the ribbon out, rather than pulling directly on the cable.
Step 6: Disconnect the battery before working further
As a safety step, disconnect the battery ribbon cable from the motherboard before touching the keyboard, trackpad, or any other component, to avoid short circuits or unexpected power-ons.
Step 7: Reassemble in reverse order
Reconnect the battery last after all other work is done, ensure every clip snaps fully back into place before adding screws, and don’t overtighten screws into plastic bosses, which can strip them.
Still Not Fixed?
If the case won’t close flush after reassembly, a cable is likely pinched between the panels, or a clip didn’t fully seat — recheck the perimeter rather than forcing the case shut.
FAQ
Does opening my Chromebook void the warranty?
Often, yes, especially on models with warranty seal stickers over screws. Check your manufacturer’s warranty terms before opening the case if it’s still covered.
Can I open a Chromebook without any special tools?
Not safely. Using a regular screwdriver as a pry tool commonly cracks the plastic housing or scratches the case — a proper spudger is inexpensive and worth having.
What if I strip a screw?
A rubber band placed between the screwdriver tip and the stripped screw head often adds enough grip to back it out. As a last resort, a screw extractor kit works on tiny screws too.