Quick Answer: The CX1 (CX1101/CX1500) is ASUS’s budget 11.6″ clamshell Chromebook, and its battery is a single glued-in cell accessed by removing the entire bottom cover. Replacement parts run $25–$40, and the swap takes about 30–40 minutes — quick by Chromebook standards since the CX1’s simple internal layout leaves the battery easy to reach once the case is open.
Why the CX1’s Battery Job Is Straightforward
- As a budget clamshell with no convertible hinge or stylus hardware to work around, the CX1’s internal layout is simple, and the battery sits directly under the bottom cover without other components blocking access
- ASUS uses adhesive strips rather than a screwed-in bracket to hold the battery in the CX1, so removal is mostly about patient, even prying rather than unscrewing multiple fasteners
- Because it’s a budget model with a smaller battery capacity than ASUS’s higher-end Chromebooks, the replacement cell itself is cheaper too, keeping the total repair cost on the low end for a battery swap
Fix Steps
Step 1: Confirm it’s the battery and not the charger
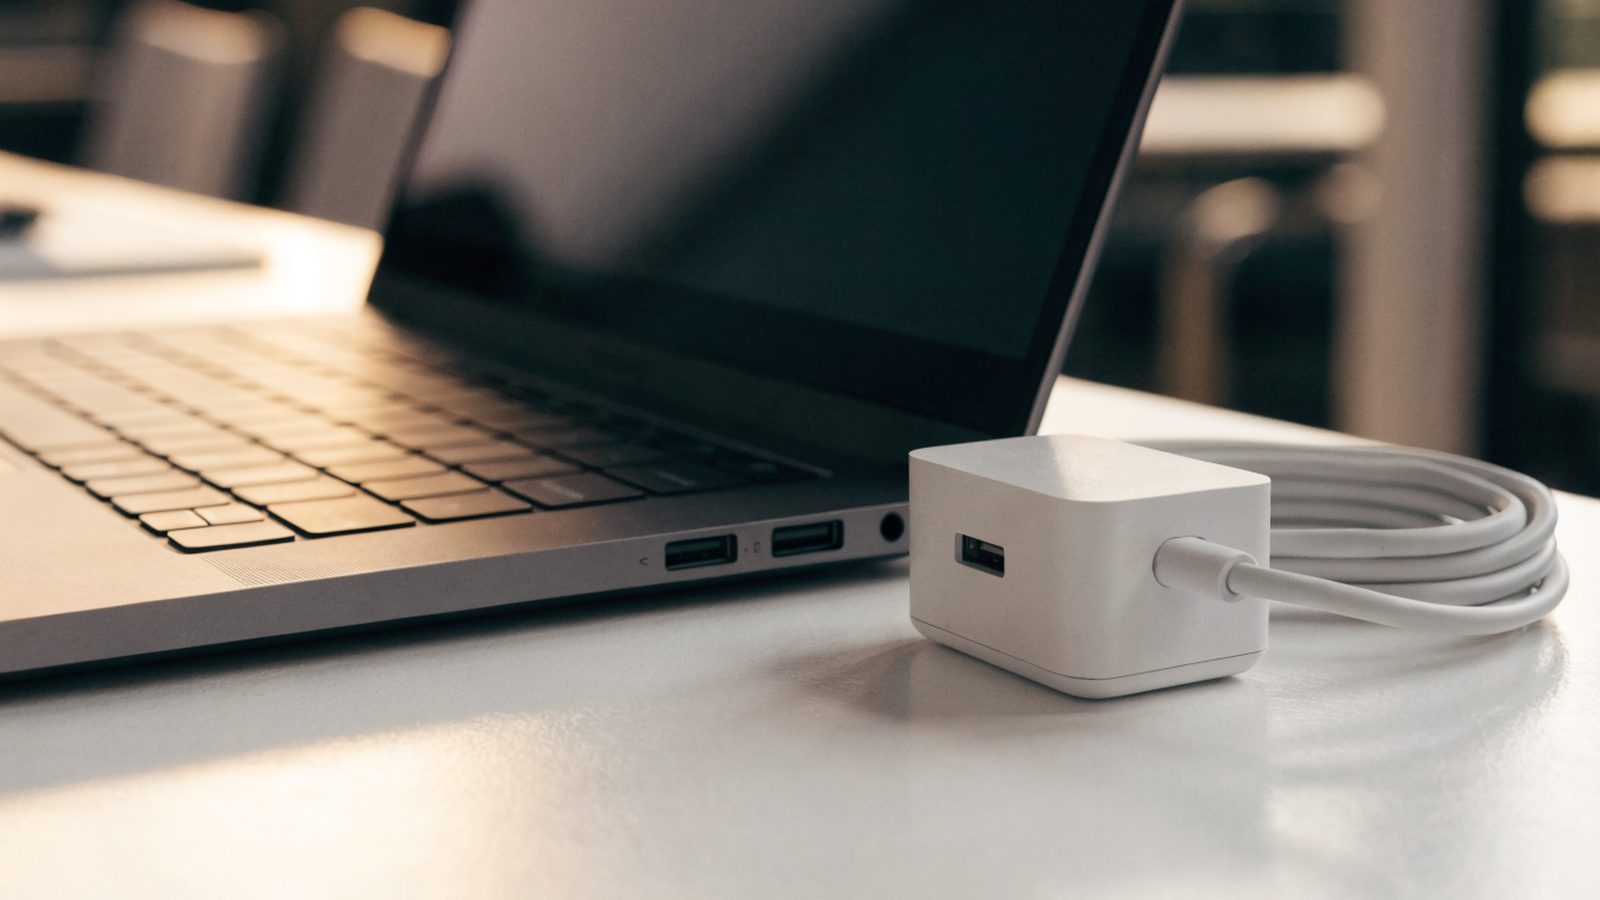
Test with a different USB-C charger and cable first. If charging behavior doesn’t change, that points to the battery itself rather than a bad cable, similar to the check used for ASUS Chromebook charger not working issues.
Step 2: Check for physical swelling
Look at the bottom cover for any bulging or a case that no longer sits flat on a table. A swollen battery needs careful handling and prompt replacement rather than continued use, even if the device still powers on.
Step 3: Check remaining battery health first
Run the built-in diagnostics to see the battery’s current health percentage — see how long an ASUS Chromebook battery should last for what’s normal at different ages, so you know whether replacement is actually justified.
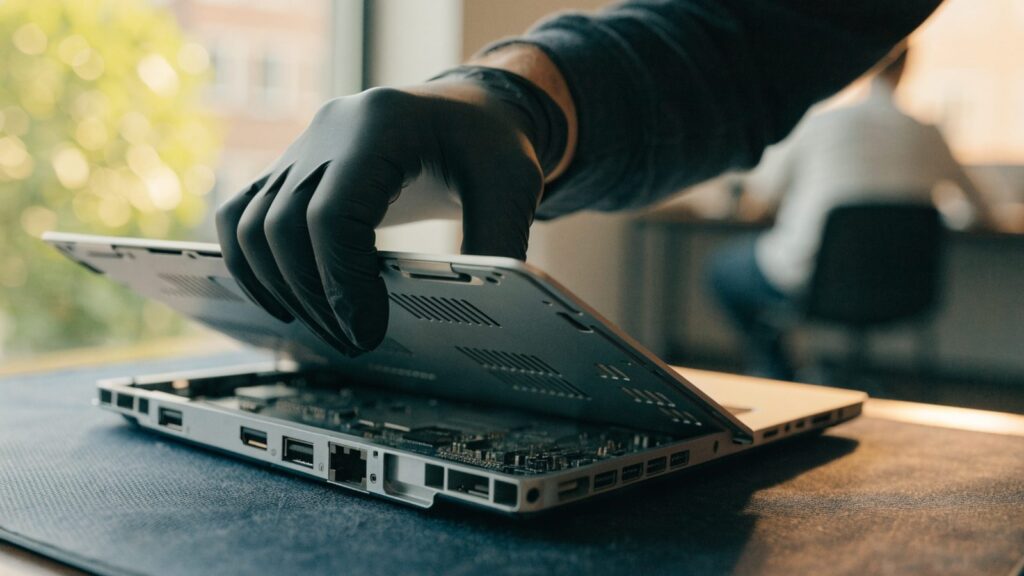
Step 4: Remove the bottom cover
Unscrew the base panel and work a plastic pry tool around the edge evenly. The CX1’s simple internal layout means there’s little risk of hitting other components once the cover is off.
Step 5: Disconnect and remove the old battery
Disconnect the battery connector from the motherboard first, then gently pry up the adhesive strips holding the cell in place — work slowly if there’s any sign of swelling, since a puffy cell punctures more easily.
Step 6: Install the new battery and calibrate
Seat the new battery, reconnect the cable, and reassemble. Run the device through a full charge and discharge cycle once before relying on the battery percentage readout, so ChromeOS can recalibrate its estimate.
Repair or Replace?
At $25–$40, a battery swap is one of the cheapest hardware repairs on any Chromebook and is almost always worth it if the rest of the CX1 is working well and it’s not past its ASUS Chromebook AUE date.
FAQ
How do I know if my CX1’s battery is swollen?
Look for a bottom cover that no longer sits flat, or a trackpad that feels raised or stiff — both are signs of a swelling cell pushing against the case from inside.
Can I keep using the CX1 with a swollen battery?
No, a swollen lithium battery is a safety risk and should be replaced promptly rather than left in use, even if the device still seems to work normally.
Is the CX1 battery the same part as other ASUS Chromebooks?
No, battery capacity and connector layout vary across ASUS’s Chromebook lineup, so always confirm your exact CX1 variant before ordering a replacement cell.