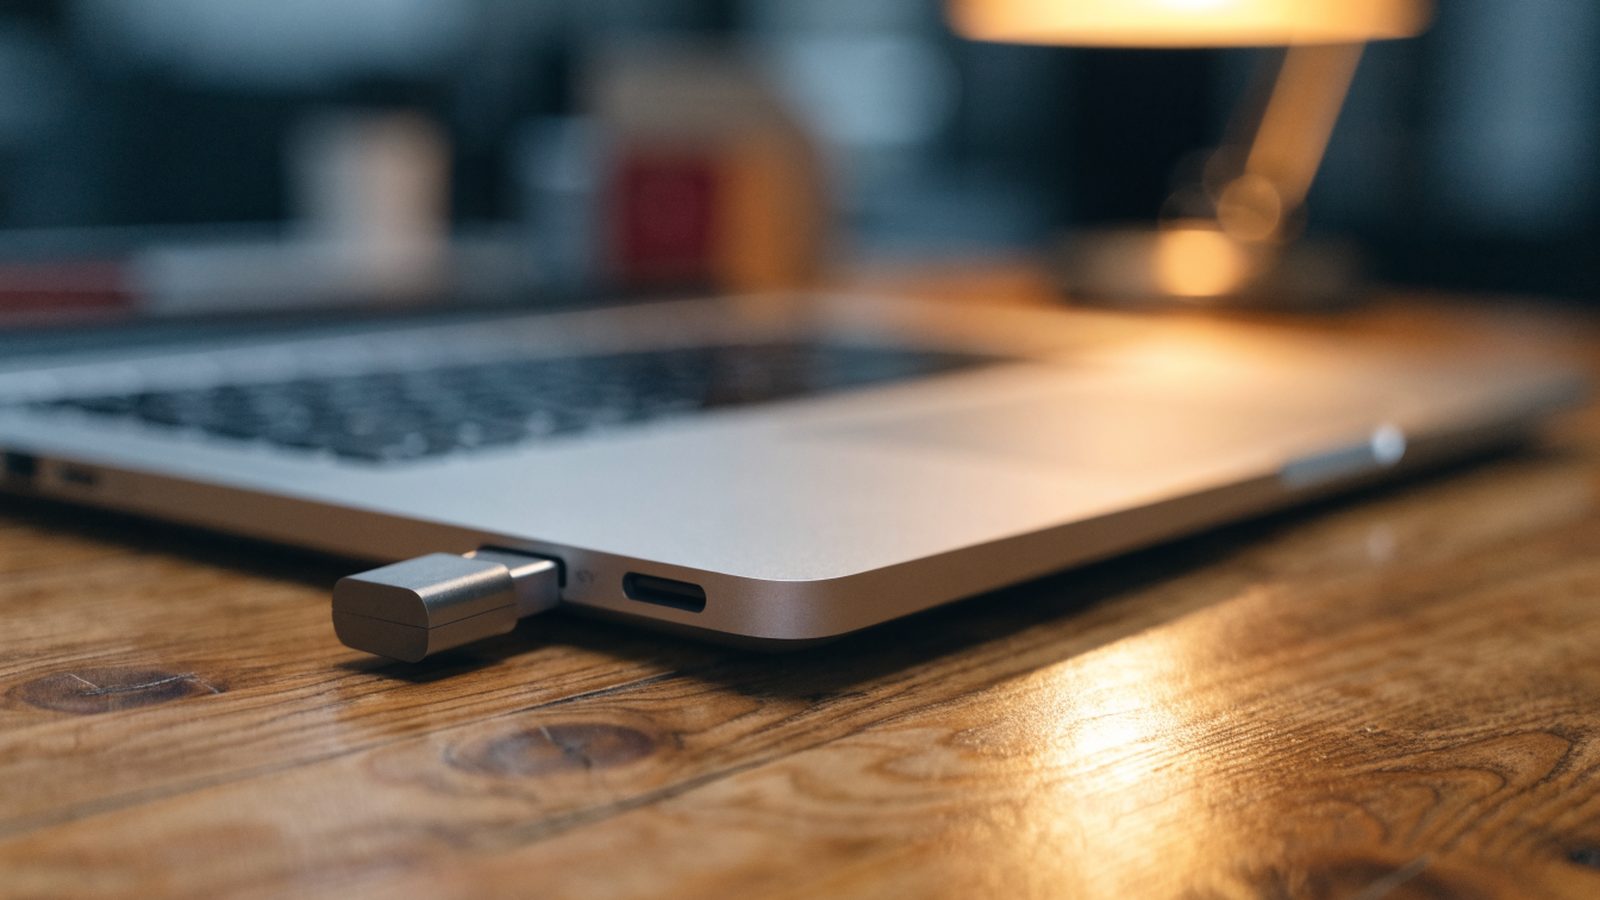
When a Chromebook won’t boot, gets stuck in a loop, or needs a clean reinstall after a failed update, a recovery USB is usually the fix. It’s a bootable drive that reinstalls ChromeOS straight from Google’s servers, and you don’t need a second Chromebook to make one.
What You’ll Need
- A USB flash drive or SD card, 8GB or larger — this process erases everything already on it
- Any computer with the Chrome browser installed, including another Chromebook
- Your Chromebook’s exact model name, or the error code shown on its recovery screen

Step 1: Install the Chromebook Recovery Utility
- Open Chrome on the computer you’re using to build the recovery drive.
- Go to the Chrome Web Store and search for “Chromebook Recovery Utility.”
- Install the official extension from Google, then insert the USB drive or SD card you plan to use.
Step 2: Find Your Chromebook’s Model Information
If the broken Chromebook shows a recovery screen with an error code, write it down — the utility can look up the right image directly from that code. If you can still get into Settings on it, check Settings > About ChromeOS > Additional details for the exact model name, or look at the label on the bottom of the device.
Step 3: Build the Recovery Image
- Open the Chromebook Recovery Utility from the Chrome app launcher.
- Click “Get started,” then enter the error code or select your Chromebook’s manufacturer and model from the list.
- Choose the USB drive or SD card as the destination and click “Continue,” then “Create now.”
- Let it run — downloading and writing the image usually takes 10 to 20 minutes depending on your connection.
Step 4: Recover the Chromebook
- Power off the Chromebook you’re fixing completely.
- Insert the recovery USB, then hold Esc + Refresh and tap Power.
- On the recovery screen, it should detect the USB automatically and start reinstalling ChromeOS.
- When it finishes, remove the USB when prompted. The Chromebook restarts into the initial setup screen, like new.
Still Not Working?
If the Recovery Utility gets stuck at “0% – Writing,” try a different USB port — older USB 2.0 ports are often more reliable for this than USB 3.0 — or try a different drive, since some flash drives aren’t fully compatible with the tool. A Chromebook that reaches the recovery screen at all usually means the board itself is fine. If it stays stuck on the logo instead, see our guide on a Chromebook stuck on the logo screen, or on breaking a restart boot loop if it keeps cycling instead of reaching recovery mode.
FAQ
Does recovery erase everything on the Chromebook?
Yes. All local files, settings, and installed Android or Linux apps are wiped. Anything saved to Google Drive is untouched since it’s stored in the cloud, not on the device.
Can I reuse the USB drive for normal storage afterward?
Yes, but you’ll need to reformat it first. The recovery process turns the drive into a bootable image, and Windows or ChromeOS won’t recognize it as a regular storage drive until it’s reformatted.
Will a managed Chromebook stay enrolled after recovery?
Recovery reinstalls ChromeOS but doesn’t remove enterprise or school enrollment. If the device was managed before, that policy reapplies automatically the first time it connects to the internet after setup.


zjlmjrysjttoqeeyiqpmhslmiwodzn